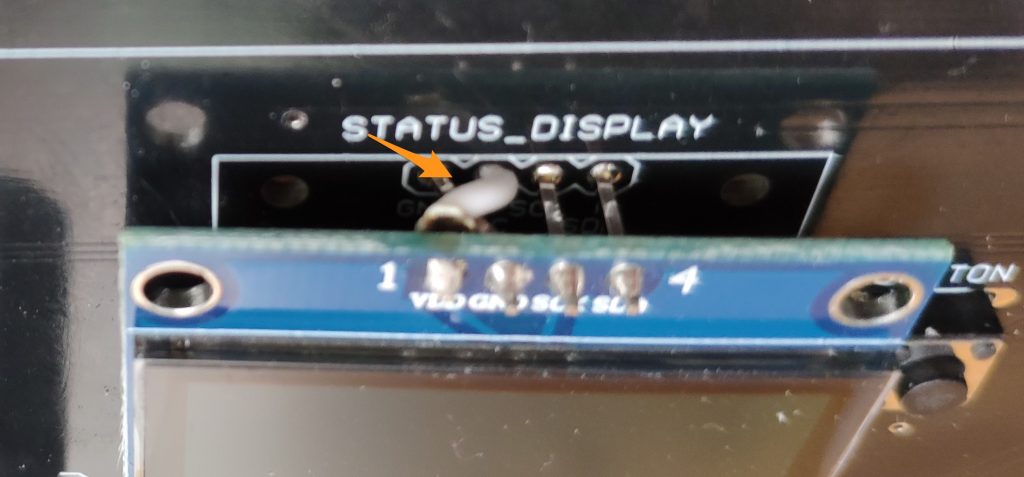
IMPORTANT: this obstacle was removed since board rev 3.5 you can connect every type of OLED.
There’s a lot of OLED displays on the market, that have reversed Vdd / Gnd connectors compared to the TILT!Audio PCB. This can be fixed with a simple workaround.
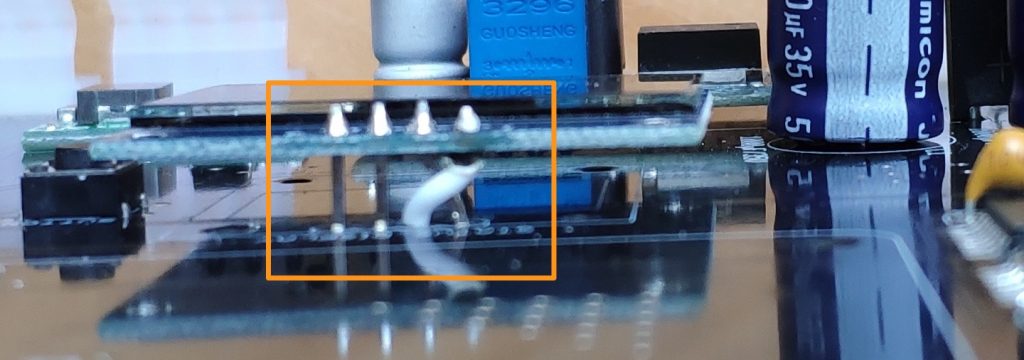
Just cut the normal Vdd pin and bend the GND pin to left:
GND bend to the left Vdd with flexible wire
Vdd instead of using a pin, will be connected using a short isolated wire: